Summary
It’s been a week since the school vacation started in Japan, and the town is bustling with summer festivals on weekend evenings. After a long hiatus due to the pandemic, the excitement seems even higher this year. My daughter and I are no exception; we were thrilled to join the festivities and wear yukata together. She also couldn’t wait to hang out with her friends, all dressed up in yukata. I was equally excited and decided to sew one for her.
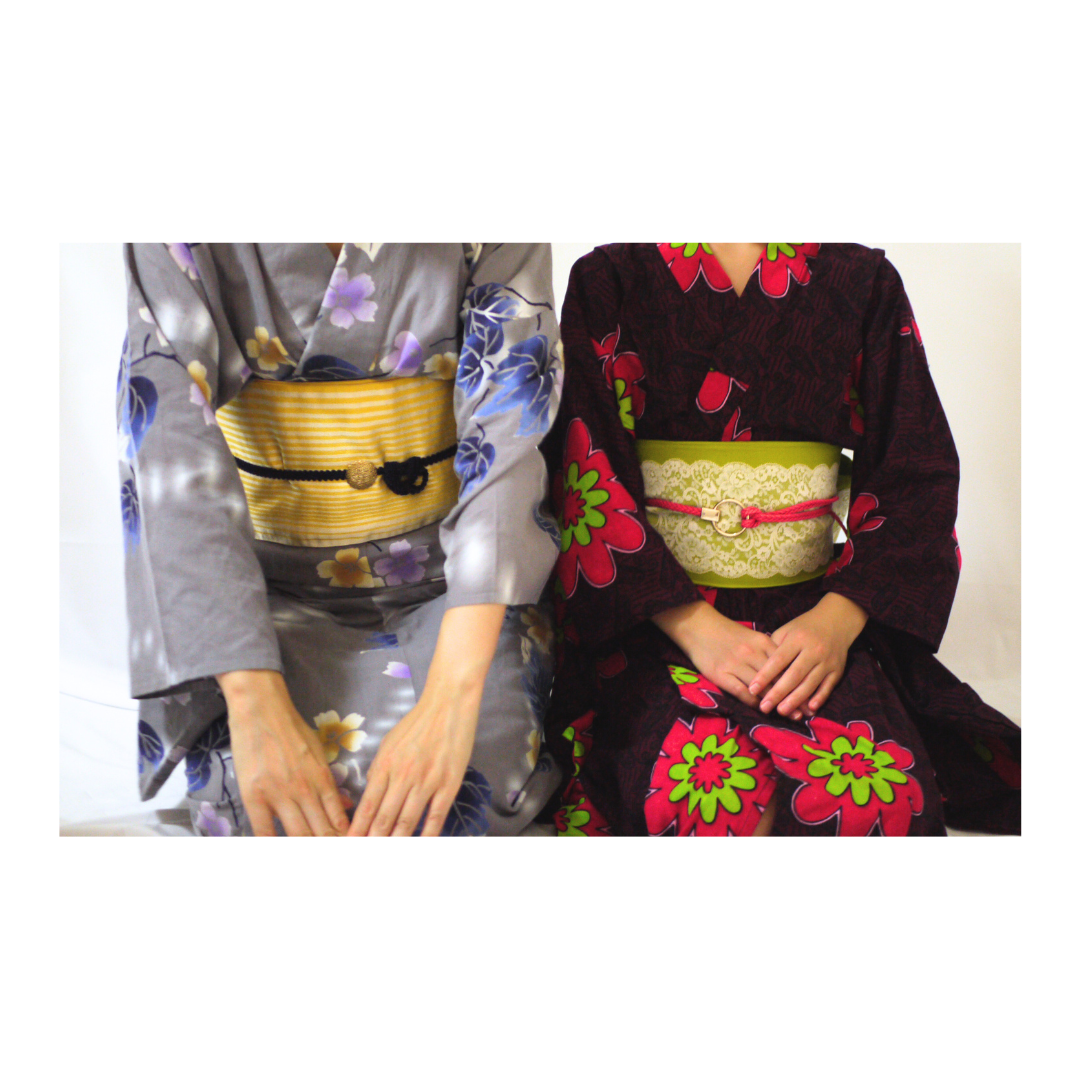
In the first photo, you can see me wearing the yukata my mother lovingly made for me over two decades ago, and standing beside me is my daughter, happily wearing the one I made for her.
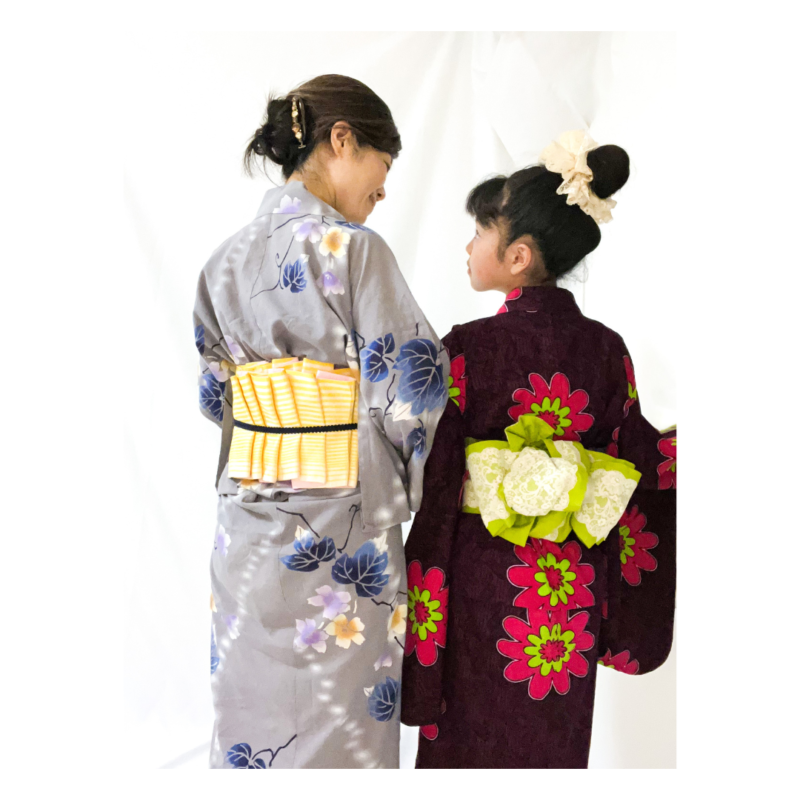
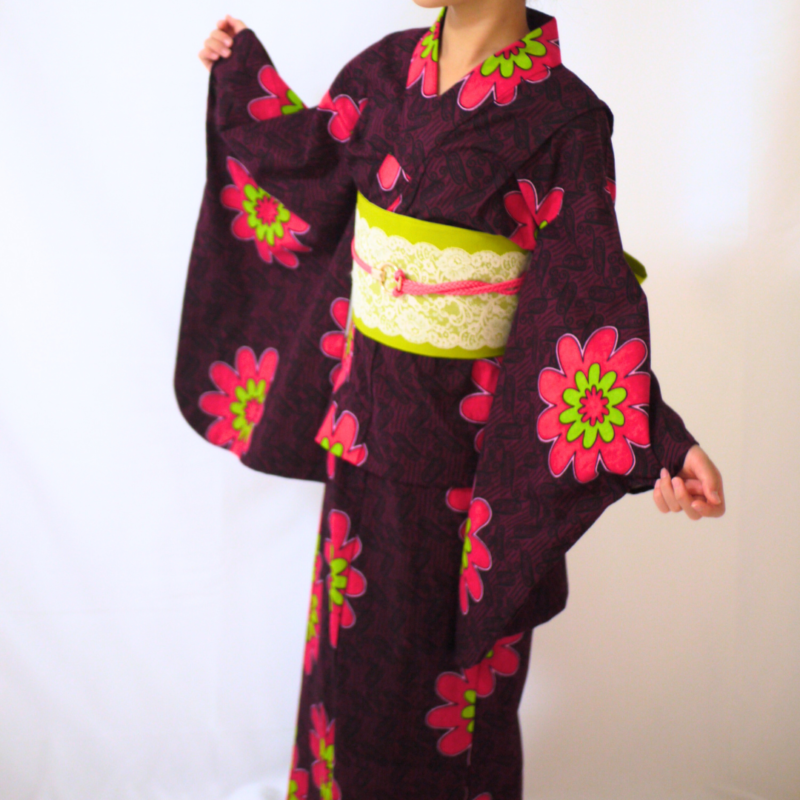
Choosing a yukata offers more freedom with colors and patterns compared to kimono, and I went for a bold choice by using Ankara fabric. I believe Ankara fabrics blend beautifully with Japanese yukata due to their vibrant colors and pattern placements. However, this decision came with its share of challenges. Japanese kimono fabrics are typically 37cm wide, and to create a yukata, you need to carefully cut and finish the wider fabric into 37cm widths (and serge!). Despite the difficulty, I managed to finish sewing the yukata and paired it with a bright green obi-belt, which I also handcrafted. I added a 12cm lacy ribbon as lining and finished the look with a bright-pink western belt. It turned out to be quite an eye-catching and flamboyant ensemble.
With our outfits complete, we eagerly attended a local summer festival and even entered my daughter into a yukata fashion contest. To my delight, she won one of the fashionista prizes!
Seeing her big smile was the best reward I could have asked for and it made all the effort worth it!